19 June 2026 · 9 min read
How to Make a Crochet Flower Bouquet: A Step-by-Step Guide
A beginner-friendly UK tutorial for crocheting your first flower bouquet — yarn, hooks, stitches, assembly and finishing tips.
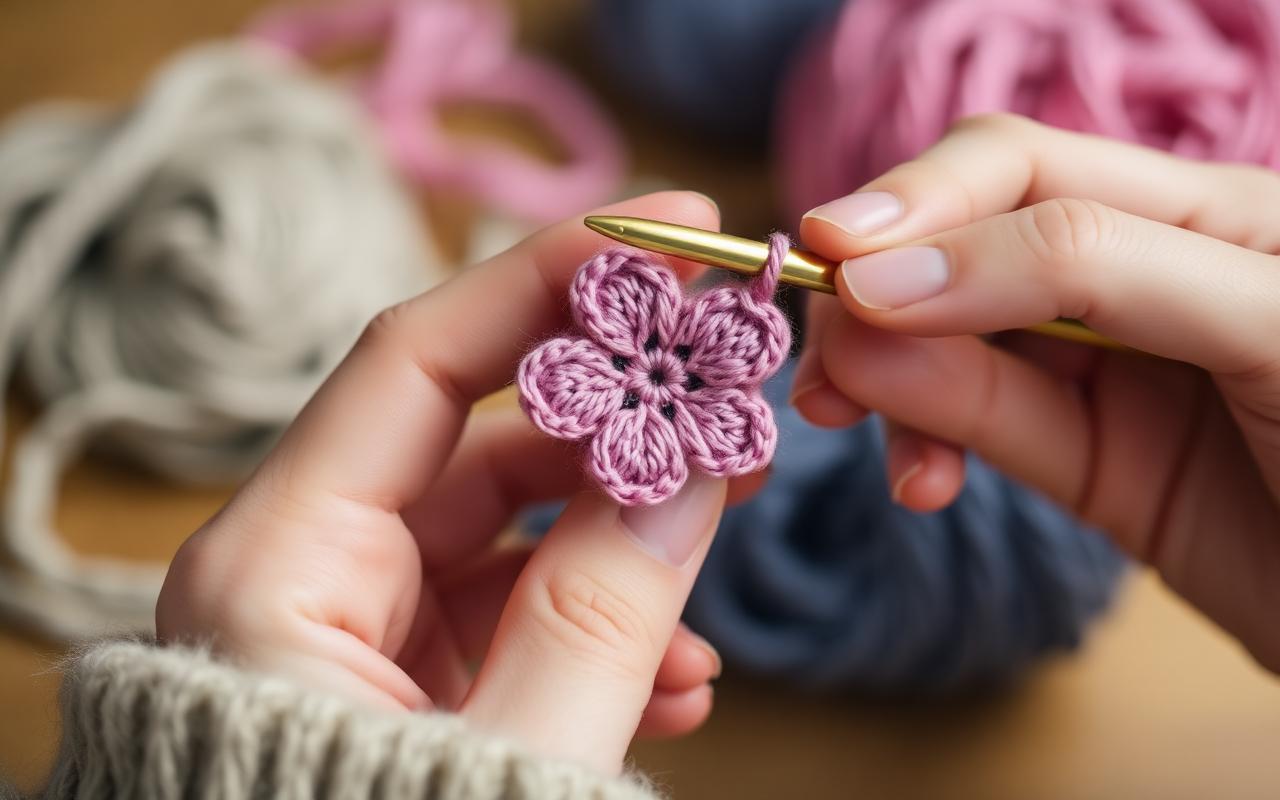
A handmade crochet flower bouquet is one of those gifts people keep forever. Pollen-free, dust-and-go, and infinitely more meaningful than supermarket roses. This step-by-step guide walks you through making your first bouquet — from picking yarn through to wrapping the finished posy.
This tutorial is written for confident beginners. If you can already chain, slip-stitch, and double-crochet (US: single-crochet), you'll be fine.
What you'll need
- Cotton DK yarn in 3–5 petal colours (roses, tulips, daisies — about 50g per colour is plenty for a small bouquet)
- Green cotton DK for leaves and stem wrap
- 3.5mm or 4mm crochet hook
- 18-gauge floral wire (about 30cm per stem) or wooden bamboo skewers
- Polyester toy stuffing (a small bag is enough for 10+ flowers)
- Yarn needle, sharp scissors, and floral tape
- Optional: kraft paper, ribbon, and a small card for wrapping
Stitches used
This guide uses UK terminology: ch (chain), ss (slip stitch), dc (double crochet), tr (treble crochet). If you prefer US terms: dc = sc and tr = dc.
Step 1 — Crochet a simple rose (makes 1 flower)
Roses are the easiest "wow" flower because you crochet a long strip and roll it up.
- Ch 30 in your rose colour.
- Row 1: 2 tr into the 4th ch from hook, *skip 1 ch, 3 tr into next ch*, repeat to end. Turn.
- Row 2: Ch 3, work 5 tr into each gap between the 3-tr clusters below. This creates the petal flare.
- Fasten off, leaving a 30cm tail.
- Starting from one end, roll the strip tightly into a spiral — the wider Row 2 edge becomes the outer petals.
- Use the long tail and a yarn needle to stitch through the base of the spiral several times so it holds its shape.
Pro tip
Pinch the outer petals open with your fingers after rolling — don't be afraid to bend them. Real roses aren't symmetrical and neither should yours be.
Step 2 — Crochet a daisy or buttercup (makes 1 flower)
- Make a magic ring in your petal colour.
- Round 1: Ch 1, 8 dc into the ring. Pull tight. Ss to join.
- Round 2 (petals): *Ch 4, ss into next dc*, repeat 7 more times — you'll have 8 small petal loops.
- Round 3: In each loop work (1 dc, 3 tr, 1 dc) to puff out the petal shape, then ss between loops.
- Fasten off, weave in the starting tail.
- Crochet a tiny yellow centre: magic ring, 6 dc, pull tight, ss, fasten off. Stitch onto the flower middle.
Step 3 — Crochet a tulip (makes 1 flower)
- Magic ring, ch 1, 6 dc into ring, ss to join (6).
- Round 2: 2 dc in each st (12).
- Rounds 3–6: 1 dc in each st (12). Stuff lightly at the end of Round 6.
- Round 7: dc2tog around to close (6).
- Fasten off, leaving a 25cm tail. Pinch the top into three petal points and stitch each pinch in place.
Step 4 — Crochet leaves (makes 1 leaf)
- Ch 8 in green.
- Working back along the chain: ss in 2nd ch, dc, tr, tr, dc, ss. Ch 1 and rotate to work the other side of the chain.
- Mirror the same sequence back along the foundation.
- Fasten off, leaving a 15cm tail for attaching to the stem.
Make 2–3 leaves per stem.
Step 5 — Add the stems
- Cut a 30cm length of floral wire (or a bamboo skewer). Fold the top 2cm into a small loop so it can't pierce through the flower.
- Push the wire up through the base of each flower until the loop sits inside the flower head.
- Use the long tail to stitch the flower base to the wire tightly — wrap the yarn several times before knotting.
- Starting at the top, wrap floral tape (or green yarn) down the wire, attaching leaves as you go.
- Trim each stem to roughly the same length once all stems are assembled.
Step 6 — Assemble the bouquet
- Lay out your flowers — aim for 7, 9 or 11 stems (odd numbers look more natural).
- Hold one tall focal flower in the centre. Add the others one at a time, slightly angled outward, twisting the bunch a quarter turn between each addition.
- Bind the stems together with a 30cm strip of green yarn or floral tape, wrapped tightly about 5cm below the flower heads.
- Trim stems to a uniform length so the bouquet sits flat.
Wrapping it as a gift
Lay the bouquet diagonally on a square of kraft paper. Fold the bottom corner up over the stems, then fold the side corners in. Tie with twine or a thin ribbon. A handwritten tag finishes it.
Care tips for the recipient
- Keep out of direct sunlight to stop colours fading.
- Dust gently with a soft brush or hair dryer on a cool setting every few months.
- Don't get the bouquet wet — cotton yarn can lose its shape if soaked.
- Refluff petals with your fingers after storage.
Short on time? Send a ready-made one with a free animated card
If you'd rather skip the hours of crochet, every Easywish handmade crochet bouquet ships with a free personalised animated greeting card — add photos, a voice note, or a short video at checkout, and a QR code is printed on the card tucked in with the bouquet. They scan, your message plays on their phone, and they can replay it forever.
Send a gift today
Handmade UK gifts + a free animated greeting card on every order.
Shop birthday giftsFrequently asked questions
What yarn is best for crochet flowers?
100% cotton DK or 4-ply yarn holds petal shape better than acrylic and gives a soft, matte finish. Pastel cotton like Paintbox Cotton DK or Drops Paris works beautifully for roses, tulips and daisies.
Which crochet hook size should I use?
For DK cotton, use a 3.5mm or 4mm hook. Going down half a size from the yarn label keeps stitches tight so petals hold their curl without the stuffing showing through.
How long does it take to crochet a small bouquet?
A beginner posy of 5–7 flowers takes around 6–10 hours total — about 30–45 minutes per flower plus an hour to assemble. With practice you can finish a small bouquet in an afternoon.
Do I have to make my own, or can I buy a ready-made one?
Either works. If you want the finished gift without the time investment, Easywish ships handmade UK crochet bouquets that arrive with a free animated greeting card unlocked by QR code.